Urban Farm Garden

Sustainable Urban Farming & Gardening Knowledge Center


Leave a comment

Save Money & Make Your Own Seedling Mix!

It’s that time of year again when the birds begin chirping and the ground begins to thaw.  Depending of your grow zone, there are now anywhere from 4-8 weeks until danger of the last frost has passed.  Which means, time to plant those seeds indoors for an early spring crop!

Seedling mixes can get expensive, and if you are like me, and are planning on growing several flats of plant starts, the cost of those small bags easily adds up.  There are many different soil mix recipes out there, and sometimes it can be daunting deciding which one is the best mix for you.  As with many things in the garden, there is not one right way to make a soil mix, but there can be wrong ways.

I am going to provide you with a blueprint of making your own planting soil.  We will keep it short and sweet, but I want you to understand some of the whys of what we put in our mix and there individual advantages.

I recommend starting with a basic mix of 1/3 perlite, 1/3 peat moss, and 1/3 compost.  Alternatively, you can substitute perlite for vermiculite, and/or you can substitute peat moss for a more sustainable coco coir.  There’s not really a good substitute for compost.  If you want/need to cut down on the compost required, you can split it and use 1 part top soil to 1 part of compost for the 1/3 compost portion of your mix.

The perlite/vermiculite portion provides adequate air space in the mix.  Both help aerate the soil, however, the main difference for us is that perlite drains a little faster than vermiculite.   Since we are starting seeds indoors, we want our soil to be fast draining to avoid overwatering, root rot, etc.  We’re taking the time to start plants indoors, so we might as well make sure they have an excellent root system established before we transplant them outside.

Peat moss/coco coir portion provides excellent water retention capabilities.  This ingredient portion holds the majority of the available water in the soil mix.  It easily absorbs and retains water, but also easily releases water to the plants.  Some other ingredients can absorb water and hold water, leaving it unavailable to plants.

The compost portion of our mix provides most of the necessary nutrients and all of the beneficial bacteria and fungi.  If you have some, I like to add about a cup or two of bag soil that has mycorrhizal fungi in it.  The fungi will populate easily, so you only need a little bit.  Doing this will also help expand the population of beneficial microbes by utilizing two different sources of organic material in your mix.


1 Comment

How Flies Will Save Agriculture

Credit: michaelcmichaeldo.com

Insect farming is here and it is about to completely change our agriculture system, thanks to a fly farm in Cape Town, South Africa called AgriProtein.  They produce protein-rich animal feed from fly larvae.  Cool!  So you can farm insects for feed… but how is this going to save agriculture?

Well according to the USDA, aquaculture feed is made with

“ingredients including fish, plant, and processing waste meals and oils.”

Plant-based feeds are derived from corn and soy-beans.  This not only requires large inputs of fertilizer and pesticides, but uses large amounts of water and energy.  Then this plant material must be processed into a useable form for the fish.  Because plant material does not have sufficient quantities of vitamins and minerals required for the rapid growth required (and carnivorous fish dislike it), it is often supplemented with fish-derived ingredients.

The fish ingredients are usually either bycatch from the marine industry, or trimmings from processing fish, including fish oil.  These ingredients are highly nutritious and therefore are highly sought after by animal feeding operations (cattle, chicken, fish).

This increasing demand by the agriculture industry coupled with the many other benefits of fish oil have increased the demand for this product around the world.  Overfishing is a major problem for our oceans and is destroying ecosystems worldwide.

The problem is that the ingredients used in animal feeds are unsustainable.  They requires heavy inputs of energy, take up valuable land, and are destroying our ecosystems.  As scientists around the world began exploring other options, many found insects could become the source for livestock protein.

BUT, the best part about the approach by AgriProtein, is that they use a waste-product from the abattoir industry: blood.

Flies are fed protein-rich blood, normally a waste product.  Here’s what they have to say,

AgriProtein:

“Using different processes and fly families, AgriProtein has developed larvae of naturally different chemical and mineral composition. These minerals are bio-available to the animals eating them. This opens up the possibility of creating a whole range of speciality feed preparations targeted at specific lifestages of industrially farmed livestock.”

This natural food source recycles a waste product and eliminates the need to use increasingly expensive plant and fish based feed. It will also provide our livestock with a larger variety of vitamins, minerals, antioxidants, and other biochemicals making them healthier ultimately providing US with healthier food!


3 Comments

HOW TO BUILD A HOMEMADE GROW LIGHT FOR LESS THAN $20

IMG_0658IMG_0724

Materials:  

All of these materials were bought from my local hardware store.  In addition to these supplies, you will need a power drill with a small drill bit, two adjustable wrenches, black electrical tape, and possibly wire cutters.

STEPS:

1. Measure the length of your hood.  I found this one at the local hardware store

IMG_0684

Find the middle and make a mark.

IMG_0685

Do this for the other direction as well.

IMG_0686 

And make your mark.

IMG_0687

2. Drill a hole for the light socket screw.

IMG_0681Find a drill bit that is slightly smaller than the socket screw.  I actually drilled my hole about 1/2 the size of the socket screw.

IMG_0682

Then I used the end of my Sharpie to widen it to the proper width.  Made for a perfect fit.

IMG_0692

3.  Insert light fixture through hole in the hood.

IMG_0690IMG_0695
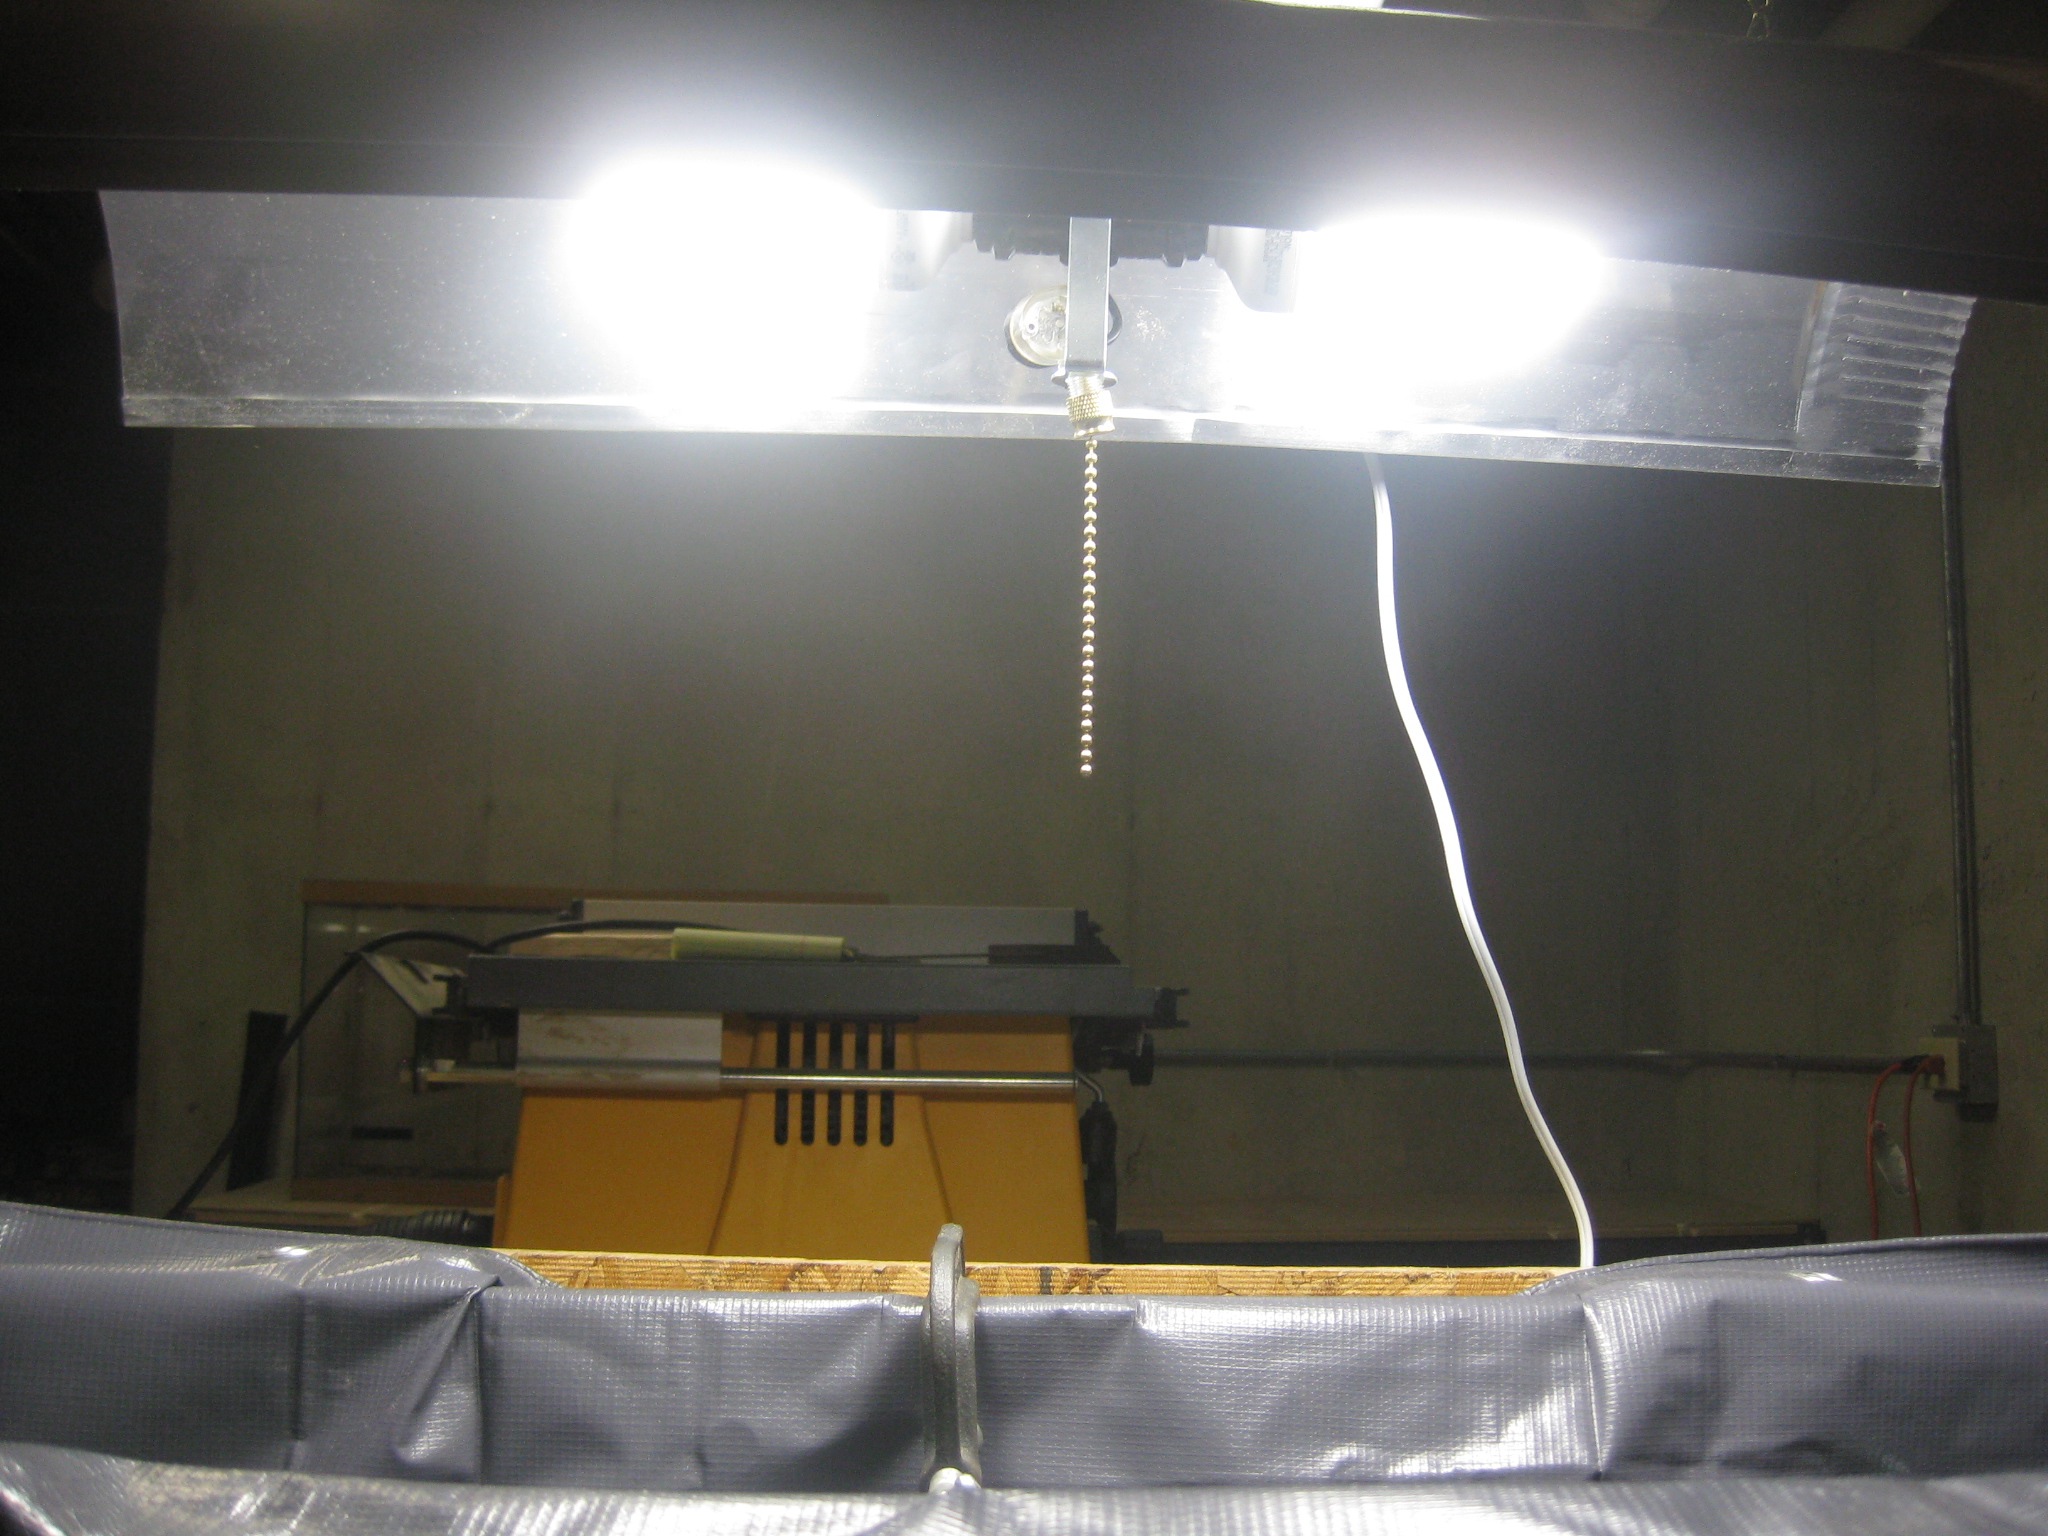
Remove the nut from the light fixture.  Leave the washer in place.  Next, feed the wire through the hole.  Do this from the inside (inner curve) of the light hood.

IMG_0696Pull or screw the light socket screw through the hole.

IMG_0697Next, feed the nut back onto the wires and screw into place.  

IMG_0699Use an adjustable wrench to fasten the nut snuggly into place.  

IMG_0700Make sure you adjust the fixture so the outlets are facing out.

IMG_0702

4. Attach eye hooks to chain.

IMG_0704Use both adjustable wrenches to pull apart one of the links on the chain.

IMG_0705Slip the eye hook onto the chain link and use one of the adjustable wrenches to pinch it close.

IMG_0707Its okay if the chain link does not close cleanly.  Just make sure it is closed so the eye hook doesn’t fall out.

5. Make holes and screw in eye hooks.

IMG_0689You can make marks if you want, but since the chains are adjustable I just eye-balled it.  Turned out just fine.  Use a screw to poke a hole in the hood.  Make your hole just big enough to get the tip of the eye hook in.  Screw it in the rest of the way.  You can use a nut on the inside if you want.

6. Wire it up!

On your lamp cord there should be one wire that is ribbed, and one that is not.  The ribbed wire is neutral.  The non-ribbed wire is called the hot wire. 

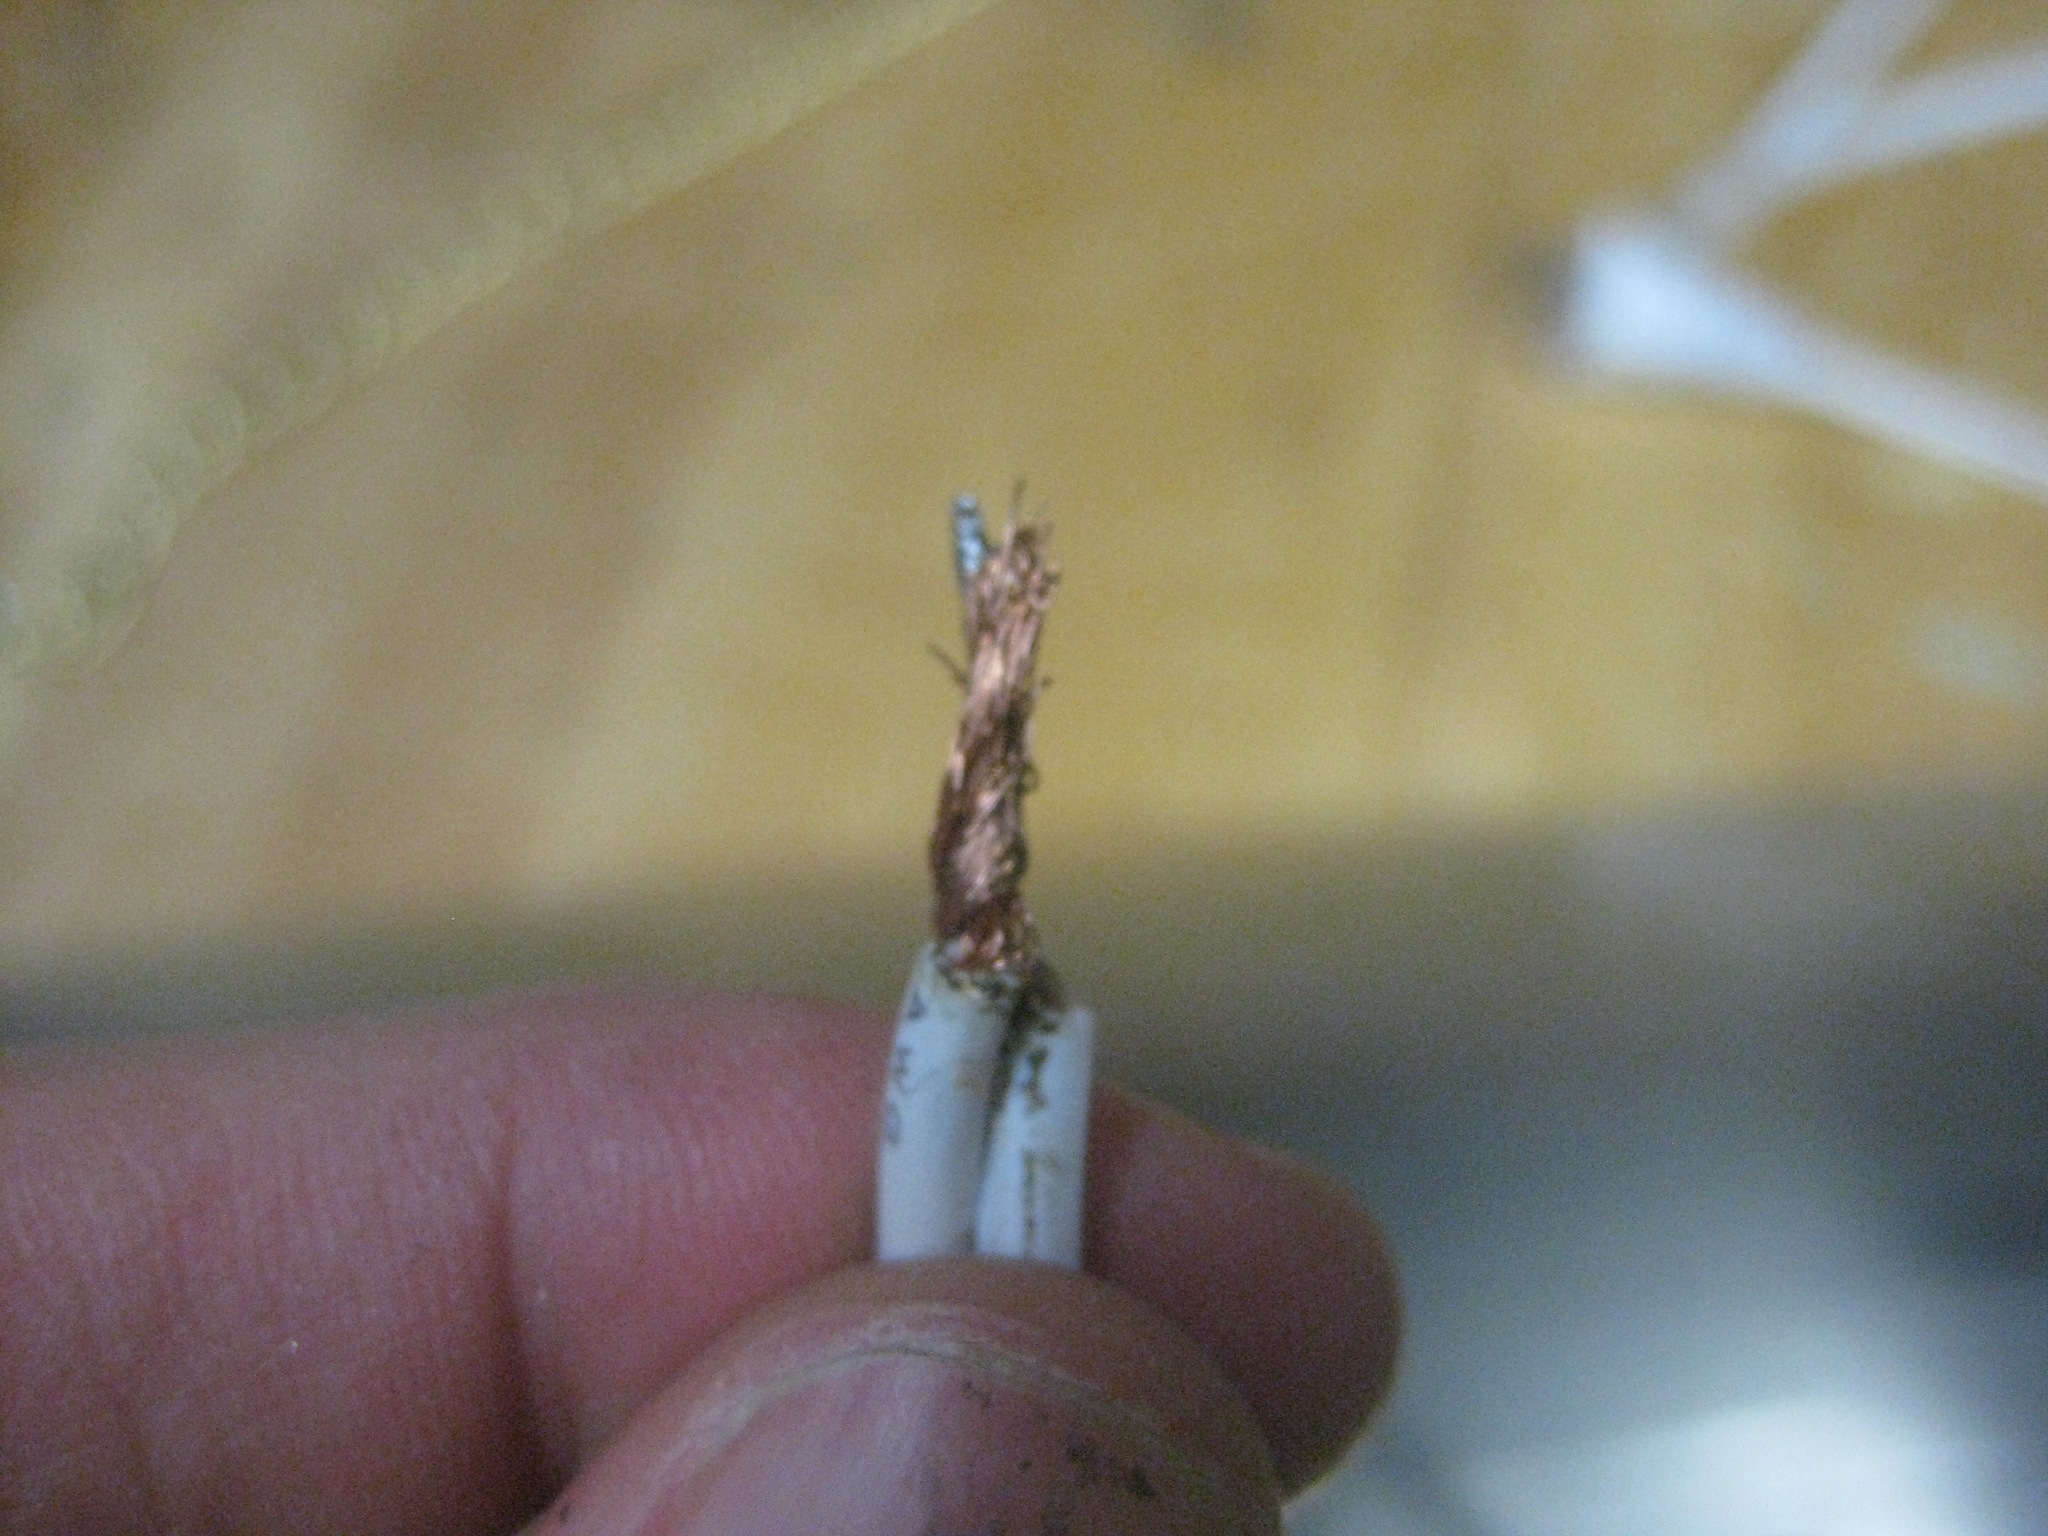
The white wire on your light socket is neutral and therefore should be connected to the ribbed wire on the lamp cord.

IMG_0712The black cord is hot and should connect to the non-ribbed wire of the lamp cord.  IMG_0720Once your wires are secure, I would highly recommend covering them in electrical tape.  This will help secure the wires in place and provide some protection. These caps are yellow because I was working on 2 light fixtures, this picture just came out the best.

7. Screw in light bulbs

IMG_0713After your wires are secure, turn over the fixture and screw in the light bulbs.  I chose 26W CFLs with a color temperature of 6500K.  These bulbs produce light that is similar to natural daylight, perfect for growing leafy greens.  These are comparable to 100W incandescent bulbs.

8. Hang light fixture on light stand

IMG_0714Fasten some hooks onto your light stand.

Cord hangs over support beamHang your light evenly.  Try to place your lamp cord over the light stand to keep it out of the way.

9. test your light

Homemade Grow LightCarefully plug in your light and test to make sure it works.  If it doesn’t work, you can check three things: the wall socket, the light bulbs, your wires (Step 6).

And thats it! You have successfully just built your own grow light!

***Please note that this grow light works well for vegetative growing, i.e. herbs, lettuce, early stages of tomato and pepper, etc.  This light is NOT ideal to use when trying to promote flowering, although in some cases it may work.***

***DISCLAIMER*** I take NO responsibility for cuts, burns, fires, or electrical shock.  This is exactly what worked for me.  NEVER, EVER plug in your cord until all wires are SECURE AND COVERED.  I repeat, make sure all wires are covered before plugging in and testing you light.

Please leave comments if you have questions or suggestions! Happy growing!


Leave a comment

URBAN FARMING! Gotta love it

the walking green

Check this out!

Somewhere in Brooklyn, will a full view of the Manhattan skyline, lies this amazing rooftop farm. The Eagle Street Rooftop Farm is a 6,000 sq/ft organic vegetable garden. The farm sells its produce and provides education programming for local kids and residents. 7_21_10_EagleStreetAnnie9982

(photo from this beautiful the selbyphotoshoot)

Cincinnati has some great urban gardening, and a few productive urban farms–this one in Price Hill comes to mind–but none on a rooftop (as far as I know).

For an introduction to the woman that makes it all happen, go here for a nice video.

View original post


Leave a comment

Nitrogen Deficiency Symptoms

Nitrogen deficiency in wheat

Nitrogen deficiency in wheat (Photo credit: CIMMYT)

Nitrogen Content & Function in Plants.

Nitrogen is a major component of all amino acids and is an essential component of growth and development.  In most agricultural and gardening situations, nitrogen has largest influence on total growth than other essential elements.   Deficient and excess nitrogen can significantly affect plant growth, including yield and quality.

Deficiency Symptoms.

Nitrogen deficiency in wheat

Nitrogen deficiency in wheat (Photo credit: CIMMYT)

Nitrogen deficiencies occur in older leaves, which are usually found at the base or bottom of the plant.  This is because nitrogen is a mobile compound.  Mobile compounds can be easily transported throughout the plant.  When a plant is not receiving enough nitrogen for proper growth, it will remove nitrogen from older leaves to use in newer growth.

Chlorophyll is the main compound that uses nitrogen in a leaf.  Therefore, removing nitrogen reduces the amount of chlorophyll in a leaf.  Chlorophyll is requires for light absorption and is responsible for the green color in leaves.  When a plant removes nitrogen from leaves, it breaks down chlorophyll and the leaf looses its green color.

This causes the leaf to turn light-green and will soon begin yellowing.  This is known as chlorosis. Chlorosis is a general term, which refers to the lightening and yellowing of leaves. As the deficiency progresses, these leaves will turn completely yellow and eventually die.

If the nitrogen deficiency continues unattended, the plant eventually concludes there are not enough nutrients to sustain vegetative growth (can’t make chlorophyll to capture energy without nitrogen!).  Therefore, the plant changes its physiology; reduces vegetative growth, improves its root system, and begins to flower.

Reproduction and flowering of these plants is also diminished.  Prolonged periods of nitrogen deficiency will affect growth, appearance, and yield.  Nitrogen deficiencies that occur during critical growth stages will have a greater effect on growth than during non-critical growth stages.

Excess Symptoms.

Excess nitrogen is often more damaging to a plant than too little nitrogen.  Excess nitrogen is frequently observed in the appearance of dark green foliage on what appears to be thriving plants.  These plants can appear to grow extremely fast but are easily susceptible to disease and insect damage.  This is often (unfortunately) countered by the use of pesticides and fungicides.

Excess nitrogen is more damaging to fruiting crops than vegetative crops.  High levels of nitrogen can impair the ability of the plant to take up other essential elements during flowering such as potassium (K).  Excess nitrogen can affect flower set and fruit development.


2 Comments

Awesome ideas! Cheap and effective, wish I knew about this sooner!!

Whit's Acres

It’s winter, and the garden is at rest, but I’ve been plenty busy, indoors, getting a head start on next year’s garden.

Starting plants from seed is one of my favorite winter gardening chores.  It requires very little time and effort, and I’m usually rewarded with almost instant results, as the shoots of new life begin emerging from the soil in just a matter of a days.

Starting plants from seed is also one of my favorite ways to save money in the garden.  For just a couple of bucks, I can produce hundreds of little seedlings for the same cost that I’d pay for six, or so,  at a local nursery or home store.

There are a lot of wonderful articles written by professional gardeners and garden bloggers to help the beginner and veteran gardener, alike, on seed starting.  Fine Gardening Magazine and Mother Earth News are two…

View original post 1,166 more words


Leave a comment

One Year Anniversary of Window Farming

I love when people stick with their blogging of systems and post updates! Thank you!!

The Green Suite

Windowfarm InstallationWhen I first stared window farming over a year ago, I knew nothing about gardening or hydroponics. I did know that the idea of free, fresh, 100% organic food sounded awesome! After some research and lots of trail and error, I learned how to turn a handful of seeds and a few recycled bottles into a thriving garden. Friends marveled at the garden when they saw it for the first time. It made my living room smell great and the tomatoes were out of this world, no seriously. I also learned how to grow plants from seeds and what plants were best suited for window farms (herbs and leafy greens).

Tomato plant taking over

A few months ago I began working on a way to convert my window farm from plastic to glass. I wanted to use a medium that was more ascetic (blue glass). Also plastic has many known carcinogens such as BPA’s…

View original post 127 more words